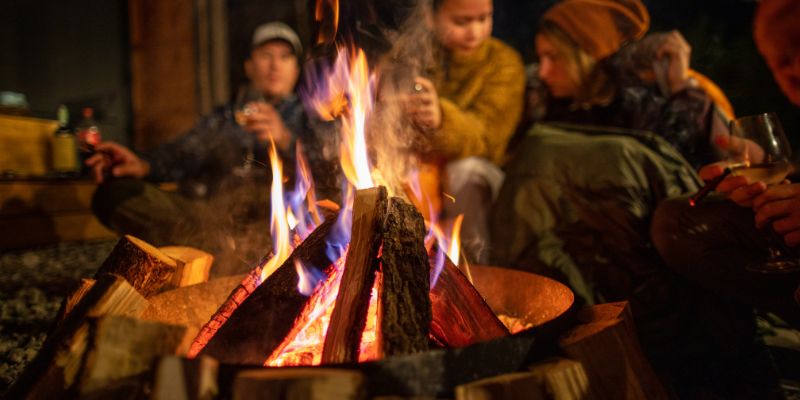
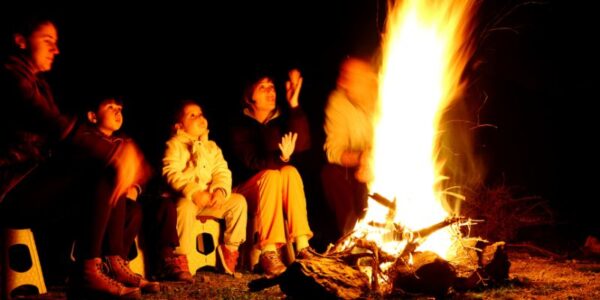
There’s nothing quite like the glow of a campfire under a sky full of stars. For me, camping isn’t just a hobby—it’s a way to connect with nature, slow down, and share unforgettable moments with friends and family. Starting a campfire might seem simple, but doing it right is a skill every camper should have. It’s not just about warmth or cooking; a well-built fire brings light, comfort, and a sense of togetherness that’s hard to match.
Whether you’re a seasoned camper or just starting out, I want to help you master this essential skill. Knowing how to build and maintain a fire can make all the difference in your outdoor experience—whether you’re roasting marshmallows, purifying water, or just soaking up the magic of the outdoors. Let’s dive into the best ways to get your campfire crackling safely and efficiently, no matter the conditions.

Understanding Campfire Basics
Alright, let’s break down the campfire fundamentals. A good campfire hinges on three critical elements: fuel, heat, and oxygen. Miss one, and you’ll be left in the cold, quite literally.
Fuel: This is what keeps your fire burning. In the wild, your primary fuel sources are wood and kindling. You’ll want a mix of tinder (small twigs and dry leaves), kindling (larger sticks), and firewood (large pieces of wood) to build and maintain your fire.
Heat: The spark that gets the whole thing going. Heat can come from matches, lighters, or even a fire starter kit. The key is to ignite your tinder which, in turn, lights your kindling and eventually the larger firewood.
Oxygen: Fire needs air to breathe, just like we do. Ensuring that your fire lay allows for airflow is crucial. Too tight, and you’ll smother it; too loose, and it won’t catch properly.
Now, not all campfires are built the same. The type of fire you build depends on your needs:
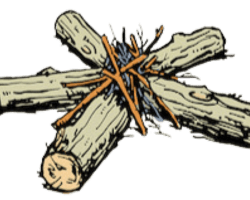
- Teepee Fire: Ideal for cooking, this lay focuses on concentrated heat. Arrange small sticks and tinder in a cone shape, lighting it at the center for a quick flame.
- Log Cabin Fire: Great for a long-lasting, stable fire. Stack logs in a square pattern around a center of kindling, making it perfect for warmth and cooking.
- Star Fire: Efficient for fuel usage, this style is great for maintaining a moderate fire over a long period. Arrange logs in a star-like pattern around a central flame, pushing them inward as they burn.
- Lean-To Fire: Perfect for windy conditions or wet environments. Prop a larger log at an angle over a base of kindling, using it as a windbreak to shield your flame.
- Parallel-Long Fire: Excellent for cooking, this style uses two parallel logs with a fire built between them, providing a stable surface for pots or pans.
- Pyramid Fire: Designed for long-lasting heat, this lay starts with a base layer of large logs and progressively smaller layers stacked on top, creating a slow-burning fire.
Each style serves a unique purpose, whether you’re looking for efficiency, stability, or a reliable heat source. Choose the one that best fits your camping adventure!
Each type has its unique setup and ideal use scenario. Whether you’re looking to cook a hearty meal or just keep warm under the stars, knowing the right type of campfire to build can enhance your camping experience significantly. So, let’s keep the fire burning and move on to mastering these techniques!
Lighting a Campfire in Different Weather Conditions
Facing the elements while camping is part of the adventure, but it can make starting a campfire a real challenge. Whether it’s wet, windy, or snowy, having the know-how to light a fire in adverse conditions is a skill every camper should master.
Wet Conditions
- Finding Dry Material: Look for dry tinder and kindling under dense trees or inside logs. Carrying waterproof matches or a fire starter can be a lifesaver.
- Creating a Dry Base: Use a tarp or extra wood to create a dry surface for your fire.
- Building Technique: Opt for a teepee fire lay to focus the heat and help the moisture evaporate.
Windy Conditions
- Location is Key: Find a natural windbreak or create one with a tarp.
- Fire Lay: A lean-to-fire lay can shield your fire from the wind.
- Lighting the Fire: Start your fire on the side sheltered from the wind to protect the flame as it grows.
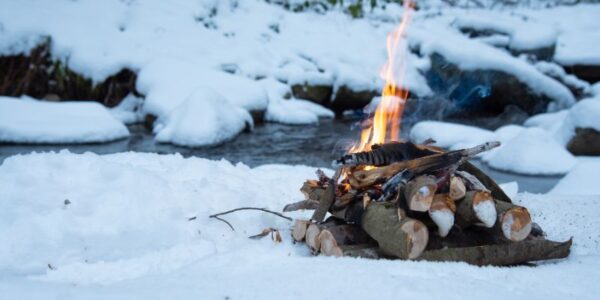
Snowy Conditions
- Clearing the Snow: Clear away as much snow as possible and create a solid base to build your fire on.
- Insulation: Use logs or stones to insulate your firebase from the cold ground.
- High Energy Fuel: Use high resin wood or fire starters that burn hotter and longer to combat the cold.
In all these conditions, the importance of location and shelter cannot be overstated. Protecting your fire from the elements not only makes it easier to start and maintain but also ensures safety and efficiency. With these techniques, you’ll be able to enjoy the warmth of a campfire, no matter what Mother Nature throws at you. So let’s keep that fire burning, come rain, wind, or snow!

Best Materials and Tools for Starting a Campfire
When it comes to lighting a campfire, the right materials and tools are your best friends. Let’s dive into what works best to get those flames dancing:
Natural Materials for Kindling and Tinder
- Tinder: This is your fire starter. Look for dry leaves, grass, bark, or pine needles. In damp conditions, birch bark or resinous pine wood can be very effective as they contain natural oils that burn even when wet.
- Kindling: After your tinder, you need kindling to keep the fire going. Small twigs and branches that are dry and snap easily are perfect. Avoid green wood as it’s difficult to burn.
Recommended Tools
- Matches: Waterproof or stormproof matches are ideal for any condition. Keep them in a waterproof container.
- Lighters: A reliable lighter is a great tool. Windproof lighters can be especially useful in windy conditions.
- Fire Starters: Commercial fire starters, like fire sticks or cubes, can be invaluable, especially in wet or snowy conditions. They burn for a longer duration, helping to ignite damp wood.
- Ferro Rod and Striker: For the more survivalist camper, a Ferro rod and striker can produce sparks in any weather condition and last longer than matches or lighters.
With the right combination of natural materials and tools, starting a campfire can be a swift and successful endeavor. Remember, the key is preparation and adapting to your environment. Stay tuned for more tips on building different types of campfire lays to suit your camping needs!
The Six Different Lays for Campfires
Building the right type of campfire lay depends on your specific needs and conditions. Here’s a guide to six popular campfire lays:

1. Teepee:
- How to Build: Place kindling in a teepee shape over your tinder.
- Pros: Excellent for cooking; easy to light.
- Cons: Burns quickly; requires constant feeding of wood.

2. Log Cabin:
- How to Build: Start with a teepee, then build a square structure around it with larger logs.
- Pros: Long-lasting and stable; great for heat distribution.
- Cons: Takes time to construct; more wood is needed.

3. Lean-to:
- How to Build: Lean kindling against a large log, placing tinder underneath.
- Pros: Good in windy conditions; easy to light.
- Cons: Limited to cooking for one or two people.
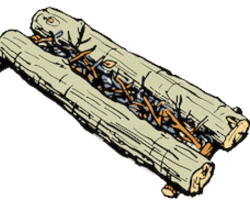
4. Parallel – Long:
- How to Build: Dig a long trench in the ground and start a fire inside the trench
- Pros: Airflow aids in combustion; good for cooking.
- Cons: Requires effort to dig; not suitable for Leave No Trace camping.
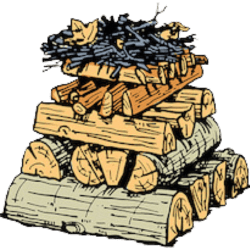
5. Pyramid (Upside Down):
- How to Build: Start with large logs at the bottom, layering smaller logs as you go up.
- Pros: Long burning with little maintenance; good heat.
- Cons: Initial lighting can be challenging.
6. Star (Indian Fire):
- How to Build: Arrange large logs in a star shape, meeting in the center. Light the middle.
- Pros: Fuel-efficient; easy to control.
- Cons: Not suitable for cooking for groups.
Each of these lays serves a different purpose, from cooking meals to providing warmth. Your choice will depend on factors like the weather, the size of your group, and your campsite environment. Remember, no matter the lay, safety and impact on the environment should always be your top priorities. Stay tuned for the final section on campfire safety!
Campfire Safety
Campfire safety is paramount in the wilderness, not only for your well-being but also for the environment. Here are some best practices to ensure every campfire is a safe and responsible one:
Controlling the Fire
- Clear the Area: Ensure the area around the campfire is clear of flammable materials.
- Control Size: Keep the fire manageable; larger fires can become difficult to control and extinguish.
- Attend to Your Fire: Never leave your campfire unattended. A gust of wind can quickly turn a small fire into a hazard.
Preventing Wildfires
- Follow Regulations: Adhere to fire regulations of the camping area or park. Some areas might have specific rules or bans, especially during dry seasons.
- Use Existing Fire Pits: When available, use established fire pits or rings. They are designed to contain fires safely.
- Be Weather Aware: In windy conditions, it might be safer to skip a fire.
Extinguishing Your Fire Completely
- Douse with Water: Make sure the fire is completely out before you leave. Use water to douse it thoroughly.
- Check for Heat: Feel the ashes with the back of your hand to ensure there’s no heat left. Ashes should be cool to the touch.
Environmental Considerations and Leave No Trace
- Minimize Impact: Use only fallen wood. Cutting branches or trees for firewood can damage the environment.
- Clean Up: Leave the site as you found it. Remove any trash or leftovers from the fire.
- Respect Wildlife: Keep the natural habitat intact for the local wildlife.
Campfires are a cherished part of camping, but they carry a responsibility. By following these safety practices, you ensure a safe experience for yourself and help preserve the natural beauty for future campers. Remember, a safe camper is a happy camper!
Conclusion
As we bring our campfire journey to a close, let’s reflect on what makes this outdoor tradition so special. From choosing the right materials to mastering various fire-lay styles, and above all, prioritizing safety, these skills can transform a simple flame into the heart of your camping experience.
The next time you venture into the great outdoors, take a moment to apply what you’ve learned here. A well-built campfire isn’t just about warmth; it’s about creating a space for stories, laughter, and connection under the stars.
Ready to elevate your camping game? Explore more tips and resources on The Campers Collective to make your outdoor adventures both luxurious and memorable. From expert guides to gear recommendations, we’re here to help you camp in style and comfort. Happy camping, and may your fires burn bright and your adventures be unforgettable!
Leave a Reply